
Getting those perfect finishes in your projects is a feeling unlike any other. For some, it’s an everyday affair, while for others, achieving those well-balanced finishes can be elusive. The trick of the trade lies in knowing how to choose the perfect fastener and how you use it. Whether you’re a woodworking enthusiast or a seasoned carpenter, it is likely that you are familiar with countersunk screws.
In this blog, we’ll guide you through the intricate details of countersunk screws, including their different types, uses, distinguishing features, and why they are considered a reliable choice of fasteners in woodworking and construction. We’ll also explore why these screws are preferred for a wide variety of applications, helping you understand their benefits and how to select the right type for your next project.
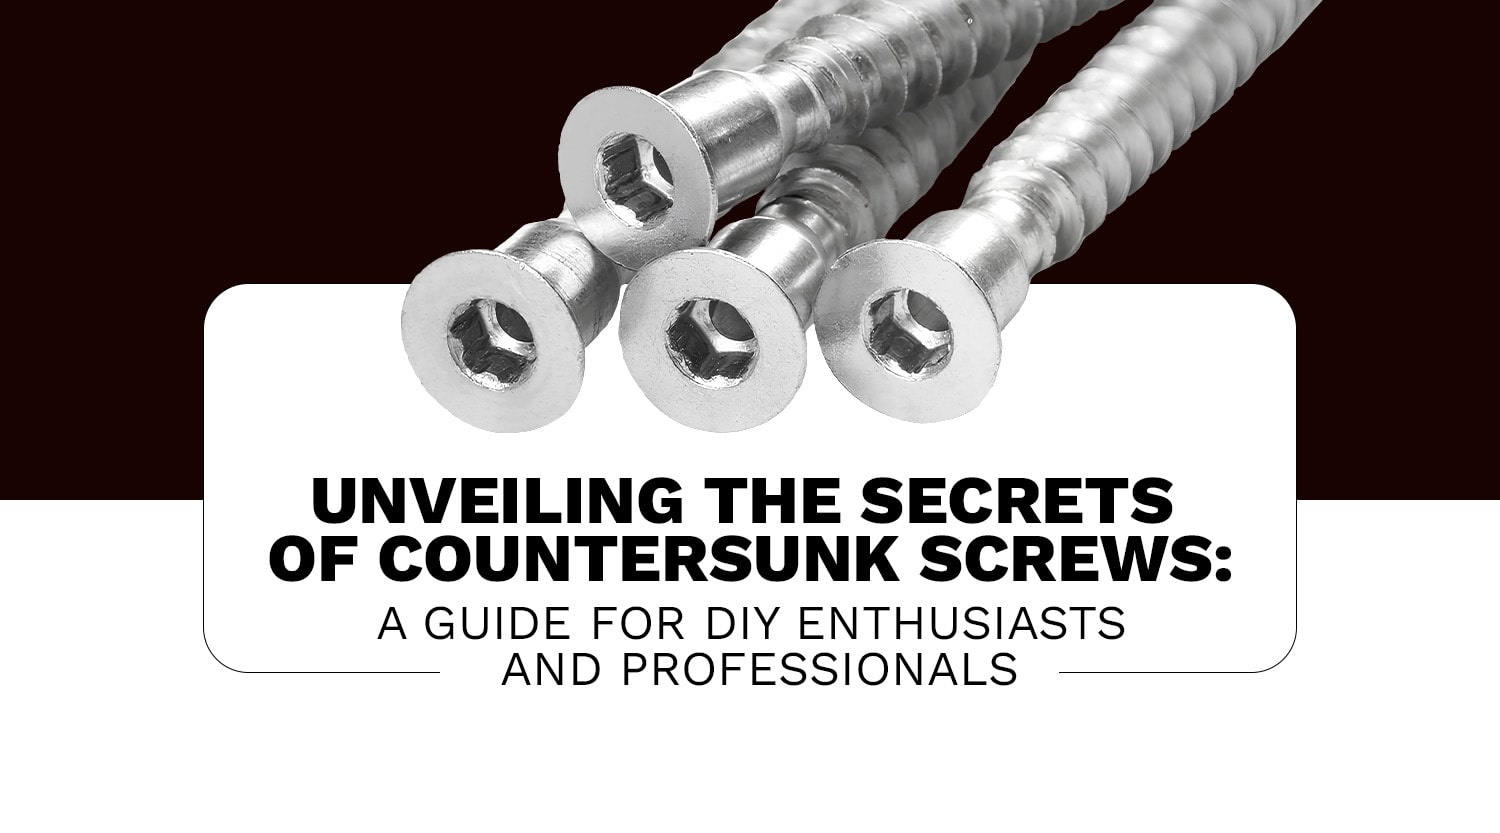
A countersunk screw is designed in a way that it fits with the surface or below the surface of the material into which it is driven. Unlike the most common protruding-headed screws, a countersunk head screw is characterised by its conical head. This feature comes in handy in woodworking projects where a smooth finish is needed. Due to this particular design, the head of the screw easily sinks into the material. Creating a smooth, flat surface, this lends an aesthetically pleasing appeal and is also highly functional at the same time. It helps in preventing snagging and reduces the risk of accidents, proving useful in cases where you are trying to achieve an easy overlay over another surface or finish.
Choosing from the wide variety of screws can be difficult. While there are different types of countersunk head screws, you can leverage the full potential of these screws if you choose the right screw and use them correctly. Whether it is a classic flat-head design suitable for wood or the metal specialised versions for plastics and composite materials, each type serves a specific purpose. By choosing the right screw for the task, you can ensure that your project not just looks good, but also lasts longer by staying together.
Countersunk screws fit seamlessly with the surface and offer enhanced safety. This is achieved by eliminating protruding heads that can catch on clothing or skin, which often results in clothes being torn or cuts on the skin. This unique blend of form and function is what makes the countersunk screws highly practical for most projects.
With proper techniques for drilling and countersinking, you can make the most of the countersunk screws. In this section, let us have a look at some practical tips and tricks that can help you in using these screws effectively. WIth this you can ensure your projects look great and are built to last.
To ensure that there is no slipping or splitting on the wooden surface, pre-drill the hole. This will help you in ensuring you get that perfect fit. Another thing to note is the diameter of the hole. Remember that it should be slightly smaller than the screw’s core. When the screw is driven the diameter of the hole will be adjusted by the thread movement.
Using a countersink drill bit, you can create a conical hole that complements the angle and shape of the screw head. Due to this, the screw fits perfectly on the surface. This enhances the overall aesthetics and uniformity of your project.
If your power drill is set on high torque settings, there is a risk of skidding. To avoid this, adjust your power drill to a lower torque setting. This helps in preventing the screw head from being stripped or the screw from being driven too deeply into the material surface. This precision prevents damage and ensures the screw is set at the required depth.
The screw you are choosing to fasten two surfaces shall be sufficiently long to be able to hold two pieces of materials together. This will help you get a strong and stable hold while retaining the cleaner, aesthetically pleasing look.
After you are done fastening the screw, you can use the filler to hide the screw completely. However, remember to give a clean finish so that the surface gets blended seamlessly.
With the right tools and knowledge, you can transform your work from good to exceptional. We hope you find this information and the tips, tricks, and insights helpful. We keep sharing such valuable information in this corner regularly. So feel free to follow us on our social media handles. This is a great way to ensure that you never miss an important blog, announcement or any other piece of information coming from our experts.
The key to continuous learning is to read and learn new things and then use those learnings in your day to day operations. Do let us know how you use these tips and insights in your projects by sending a direct message on our social media handles.


